|
M3 Lip Spoiler Install
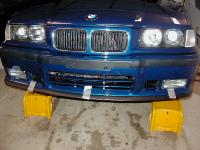
The E36 M3 Luxury package and the non-M3 Sport package cars came with M3 front bumpers, but lacked the lip spoiler extension that the regular E36 M3 included. The lip spoiler improves/completes the look of the M3 front bumper.
You will need the following parts:
- Hand drill
- 1/4" and 3/8" drill bits
- Duct tape
- Round and triangular shaped files
- 8mm socket and rachet
- Scratch awl
- 51 11 2 251 767 Spoiler Front
- 51 11 2 252 200 (x7) Plug-In Nut
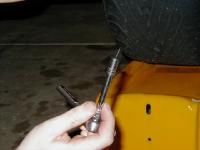
- 51 11 2 257 140 (x7) Screw
- 51 11 1 908 077 (x4) Expanding Rivet
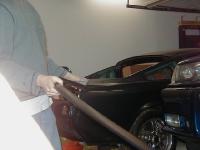
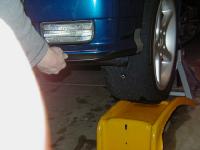
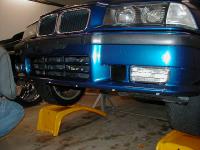
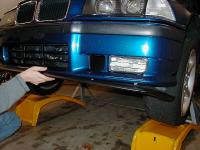
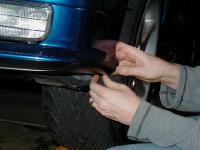
Start by jacking up the front of your car and supporting it on jackstands or ramps. Hold the spoiler up against the front edge of the bumper. When you are happy with the position attach the spoiler to the bumper with strips of duct tape.
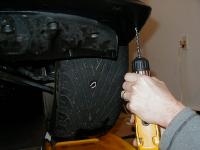
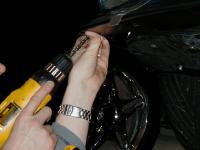
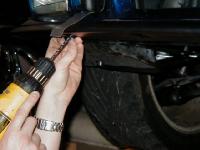
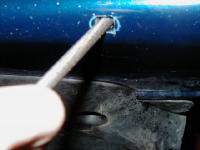
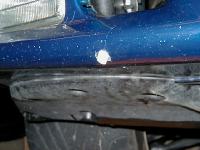
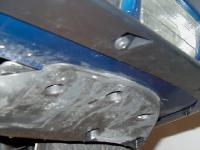
Using a drill and a 1/4" bit, drill holes in to the bumper through each of the 11 holes in spoiler. Remove the duct tape and set the spoiler aside. Use a 3/8" bit to enlarge the 7 holes across the front edge of the bumper. DO NOT enlarge the 2 holes on each end of the bumper.
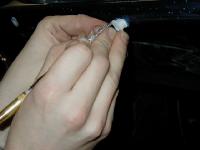
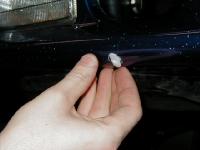
Using a triangular shaped file, file one of the 3/8" holes until it is 3/8" x 3/8" square. Push one of the plug-in nuts in to the square hole until the tabs on the sides are against the bumper. Use an awl to scratch the paint around the shape of the tabs. Remove the nut, then use a round file to make the square hole match the oval shape that you just scratched in to the paint. Push the nut back in to the hole, slipping the tabs through the oval hole, then turn the nut 90deg clockwise to lock it in to place. Repeat with the 6 other 3/8" holes.
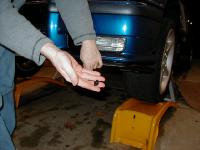
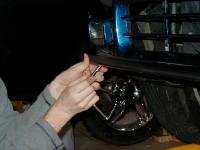
Hold the spoiler against the bumper. Carefully line up the holes in the spoiler with the nuts and holes in the bumper. use the 8mm socket to start the 7 screws in to the nuts in the bumper. Once all 7 screws are started, push the expanding rivets in to the 2 holes on each end of the bumper. Push in the center pins on the 4 expanding rivets to secure the ends of the spoiler. Finish by tightening the 7 screws on the front enge of the bumper.
Remove the jackstands and lower your car back to the ground. Stand back and admire your work!
Spoiler |
Lining Up |

Drilling |
Drilling |
Drilling |
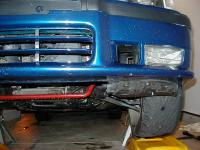
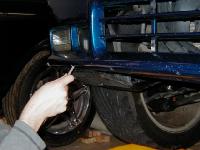
Drilled Holes |
Reinstalling Bolts |
Fan Switch |
File Square |
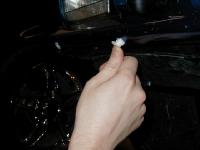
Push In Nut |
Scratch Paint |
File Oval |
Push In Nut |
Twist To Lock |

Nuts Locked |
Nuts Locked |
Line Up Spoiler |
Expanding Rivet |
Push In Rivet |
Screw |
Tighten Screws |
Tightened Screws |
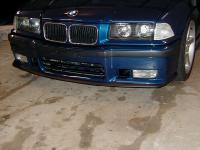
Installed |
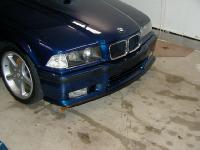
Installed |

|